


Netted Earrings
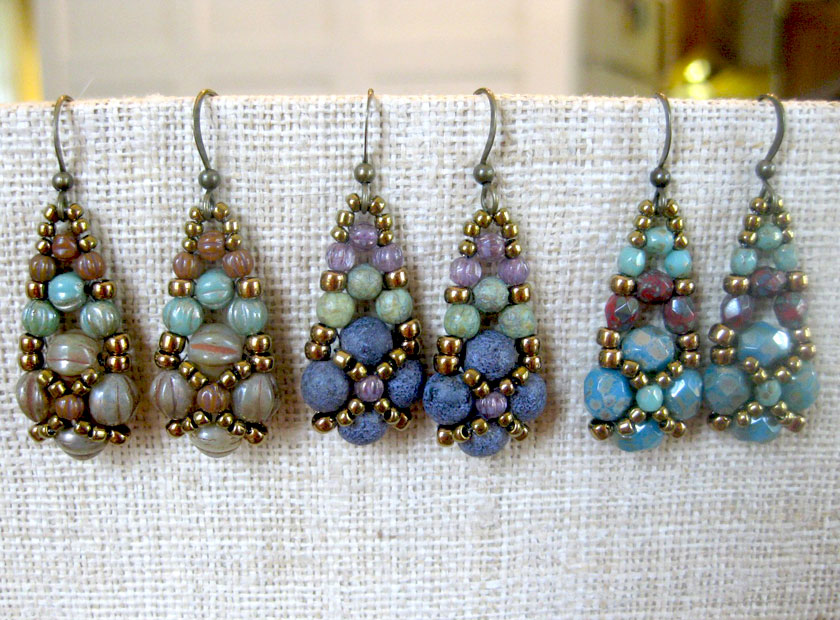 |
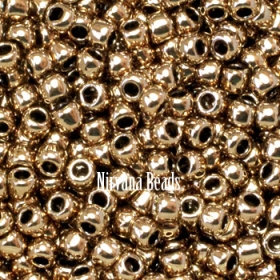
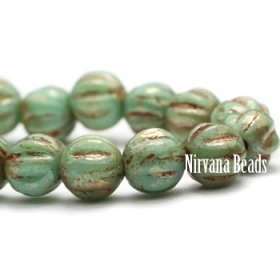
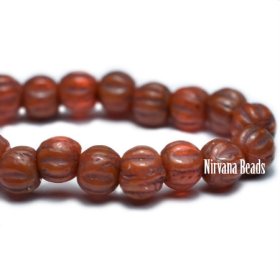
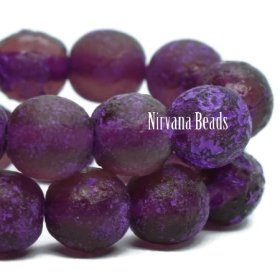
There are endless ways to combine the beads used in this project: You can work in all melons. You can mix and match druks with faceted round fire polished beads. You can go monochromatic, or you can use all the colors of the rainbow. Once you get started with trying all the different possibilities, you wont want to stop! |
-
-
-
-
-
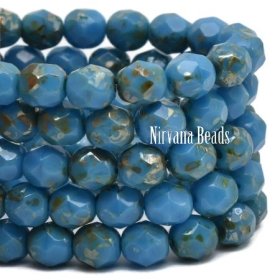
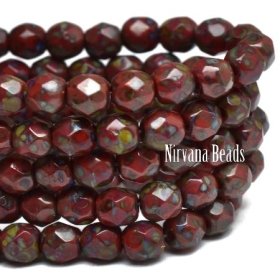
- 4mm Round Druk Tea Green and Yellow Ivory with Picasso and Etched FinishSKU: D4/051PCS PER UNIT: 600
-
-
-
-


About Amy Haftkowycz from Trixie's Jewel Box:
 Like many others, my journey into the world of beads began on a fluke: one day, way back in 1995, I wandered into a newly-opened bead store in a neighboring town, and I was immediately hooked. And that addiction grew incredibly fast. I knew almost immediately that I couldn’t just buy the beads…I had make the beads myself! Before the end of my first year in the world of beading, I was set up with a torch, glass rods, and a kiln…I became a lampworker.
I spent many years making glass beads and selling them at bead shows and art fairs. It was a wonderful and exciting time. But, as the years wore on, my hands grew weary, and my mind craved to expand my beading experience.
As luck would have it, I had two dear friends who were looking to open a bead store, and they wanted a third partner to join them. It was the perfect opportunity at the perfect time, and in 2006 Artful Beads Studio and Workshop was born! Over the next 10 years, we had a wonderful time teaching classes, learning new techniques in beading, metal smithing, and metal clay, and generally having a great time. But, as we all know, all good things eventually come to an end; we all decided it was time to move on to new adventures and in January of 2016, we closed our doors.
And that’s when “Trixie’s Jewel Box” came to be. I still adored beads, and this was an opportunity to try things out in yet another direction. I received my PMC certification back in the late 90s, but hadn’t had the time for playing around with metal clay as I wanted. So, with the store now closed, I decided to focus my energy for Trixie’s Jewel Box on making metal clay jewelry components…pieces that add a unique, artistic touch to peoples’ designs without breaking the bank in the process.
I also began designing beading kits that center around my handcrafted components. This is a challenge that I truly enjoy, as it brings together my love of original metal pieces and my love of artistic Czech glass beads.
These days I can still be found at several bead shows a year, as well as on Etsy: www.etsy.com/shop/TrixiesJewelBox, where I sell my handcrafted metal clay components, beading kits, Czech glass beads, seed beads, and beading supplies. Additionally, some of my projects can be found in various beading magazines (both past and present), and I maintain a beading blog on my website www.TrixiesJewelBox.com. I don’t imagine I will ever tire of beads!