Multi-Strand Bracelets Tutorial
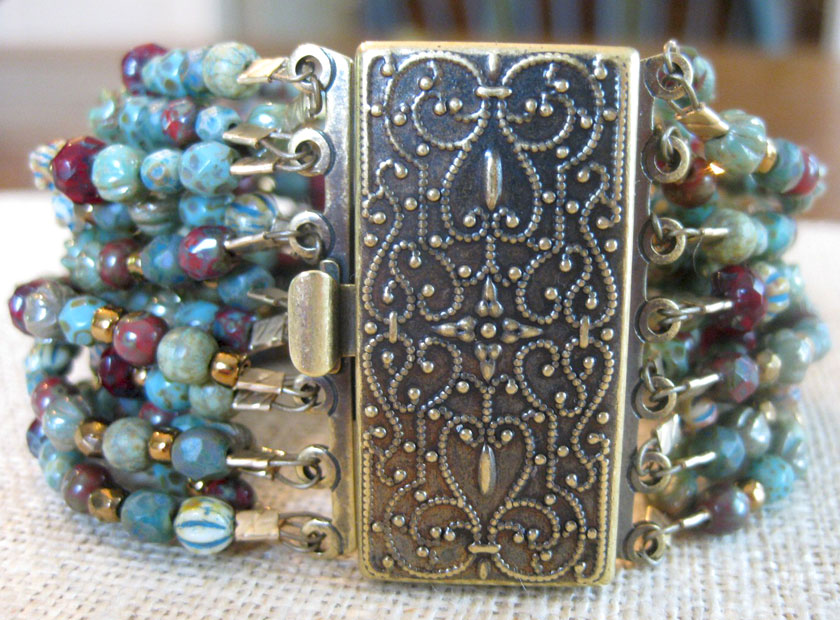 |
Stringing beads is a fun way to create jewelry that has the exact style and fit you are looking for. There is no end to the way you can combine beads in stringing projects, so let your imagination run wild! ~Amy Haftkowycz
|
Filter
Shopping Options
- 4mm Faceted Round Firepolished Bead Blue Green with Etched and Picasso FinishSKU: FP4/058PCS PER UNIT: 600
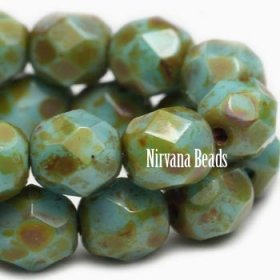
- 4mm Faceted Round Firepolished Bead Medium Sky Blue with Picasso FinishSKU: FP4/052PCS PER UNIT: 600
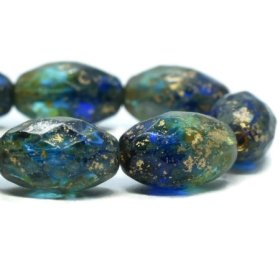
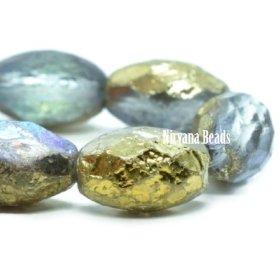
- 8x12mm Faceted Oval Sapphire and Teal with Picasso Finishand Gold WashSKU: 0032/FOVPCS PER UNIT: 12
-
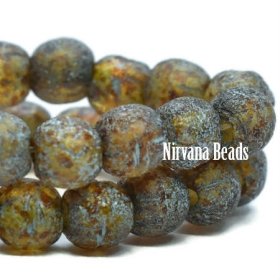
- 4mm Round Druk Amber with Picasso and Turquoise Wash and Etched FinishSKU: D4/043PCS PER UNIT: 600
-
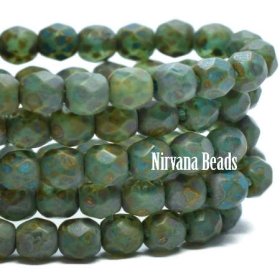
- 3mm Faceted Round Firepolished Bead Blue Green with Picasso and Etched FinishSKU: FP3/161PCS PER UNIT: 600
- 4mm Round Druk Tea Green and Yellow Ivory with Picasso and Etched FinishSKU: D4/051PCS PER UNIT: 600
- 6mm Round Druk Tea Green with Picasso and Etched Finish and Turquoise WashSKU: D6/009PCS PER UNIT: 300
-
-
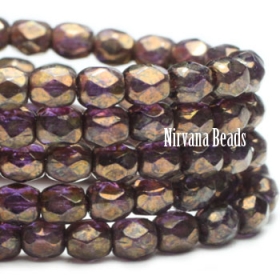
- 3mm Faceted Round Firepolished Bead Purple Pansy with Bronze Picasso FinishSKU: FP3/079PCS PER UNIT: 600
-
-
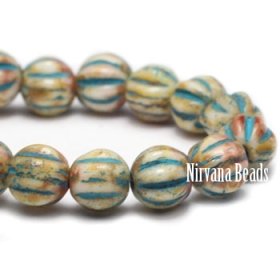
- 4mm Melon Pale Yellow with Picasso Finish and Turquoise Wash - Long StrandSKU: ML4/002-CPCS PER UNIT: 50
-
-
-
-
-