Chunky Melon Bracelet
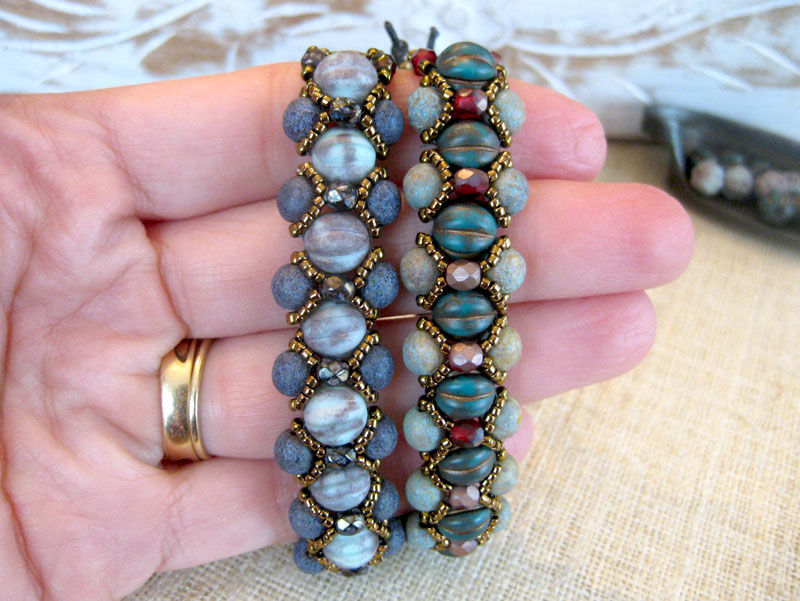 |
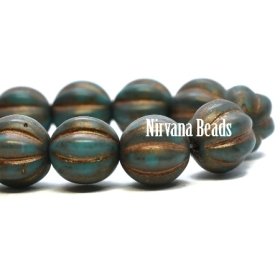
Learn how to make these beautiful chunky bracelets featuring our newest melons!. Download the tutorial or scroll down and read the instructions. Enjoy!
|
Filter
Shopping Options
-
-
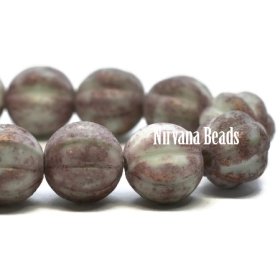
- 6x9mm Large Hole Roller Bead Tea Green and Amber with Heavy PicassoSKU: 1061/ROL-BPCS PER UNIT: 25
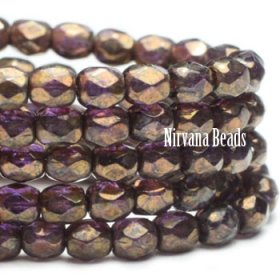
- 4mm Faceted Round Firepolished Bead Purple Pansy with Bronze Picasso FinishSKU: FP4/010PCS PER UNIT: 600
-