


Netted Bracelet
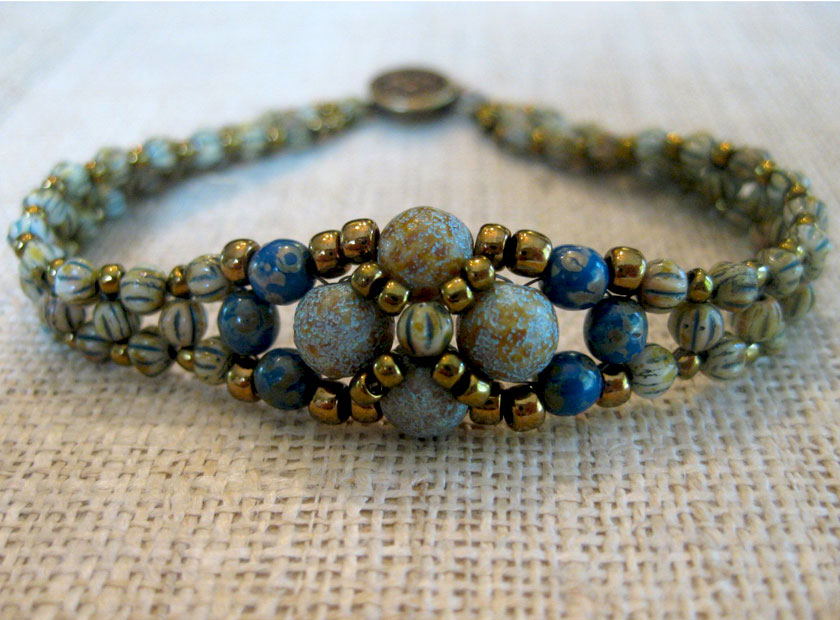 |
This project works well with melon beads, druk, beads, and faceted round fire-polished beads. Try mixing and matching druks, melons, and fire-polished beads for a wonderfully textured look. For those who enjoy making jewelry in sets, this bracelet is a wonderful match with the “Netted Earrings” project!
|
Filter
Now Shopping by
Shopping Options
- Primary Color Green Remove This Item
- Secondary Color Blue Remove This Item
